KusArt

    AI Image Editor for Precise, Prompt-Based Editing

    KusArt's AI image editor turns visual direction into a practical workflow. Upload the main image, explain the result in plain language, and optionally add multiple references or draw over the source. The editor combines the subject, prompt, references, output ratio, and annotations into one request, so you can change an outfit, replace a background, refine an object, adjust a pose, or explore a new art direction without rebuilding from scratch. The source remains the anchor, preserving what works while focusing the AI on what needs revision.

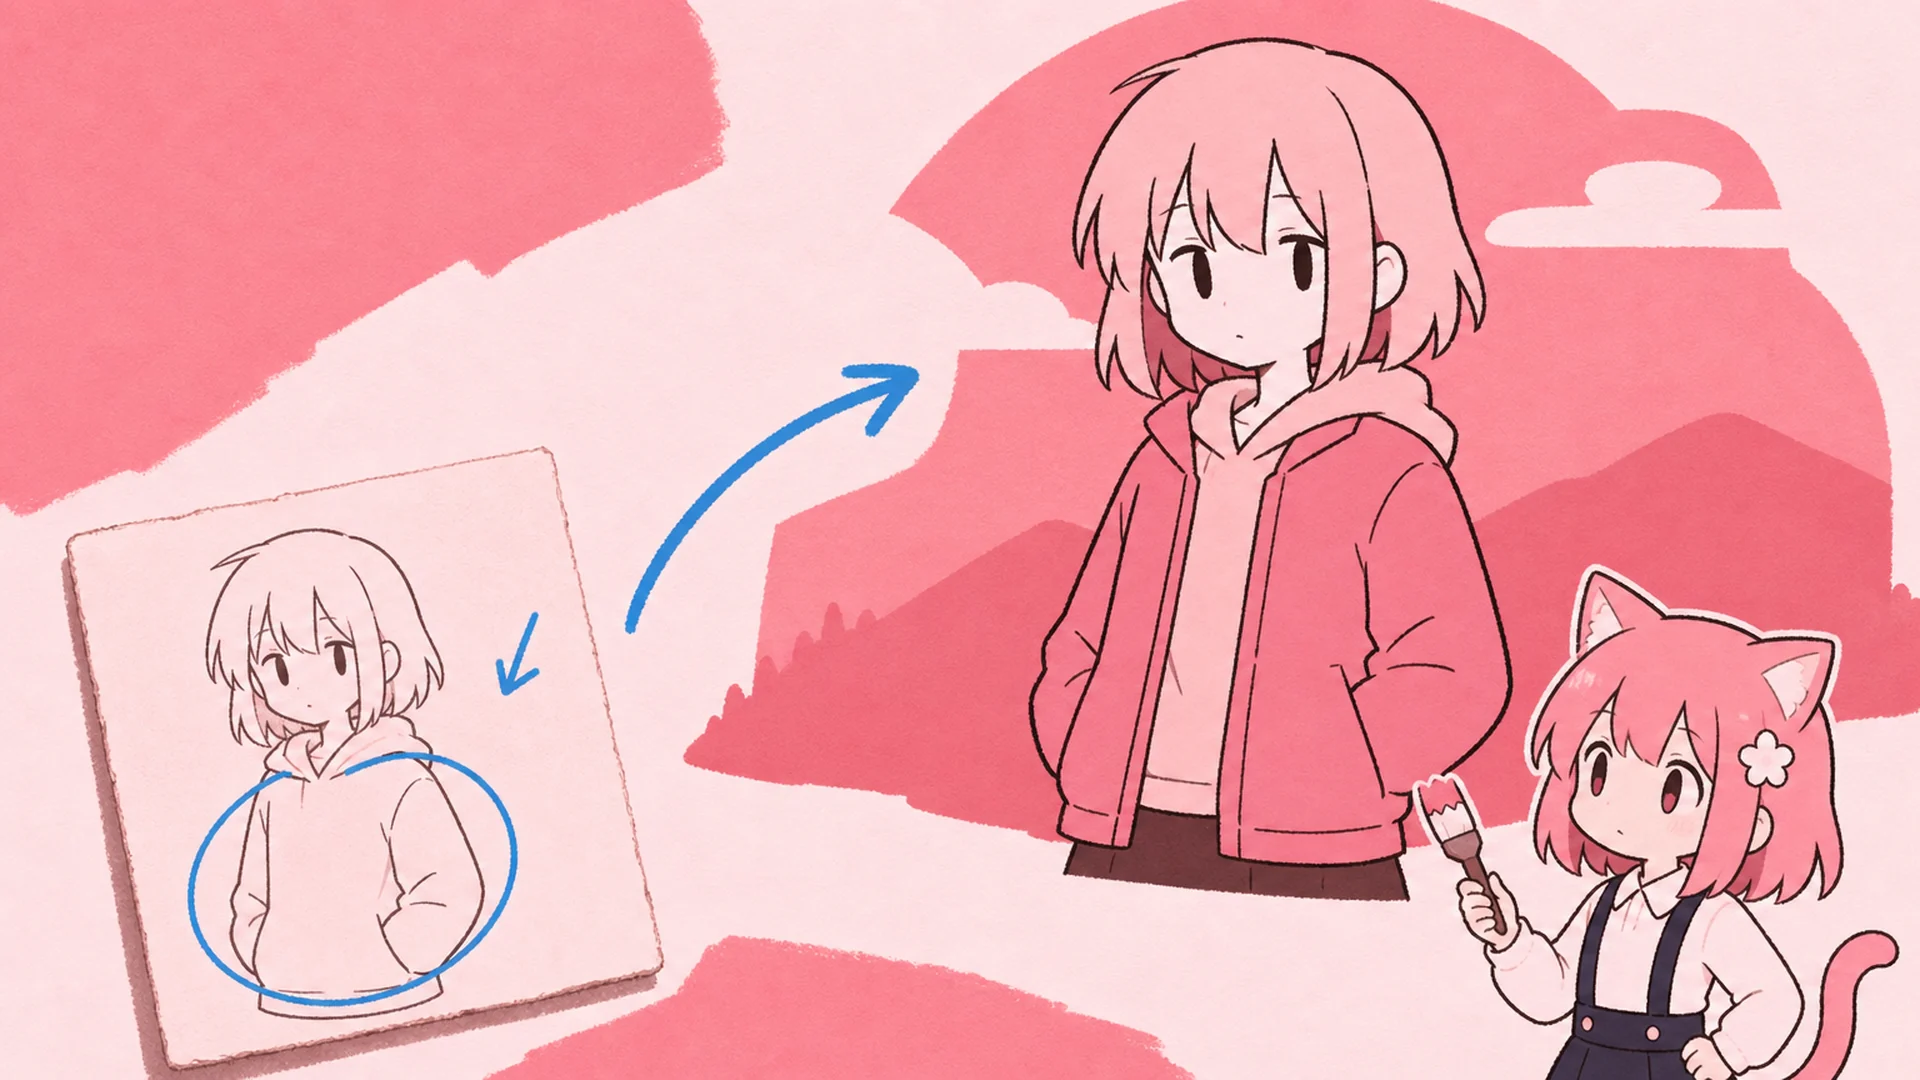
    Edit an image with AI
    Source portrait with its clothing circled, next to the same character re-rendered with a new jacket and background

    What Is an AI Image Editor?

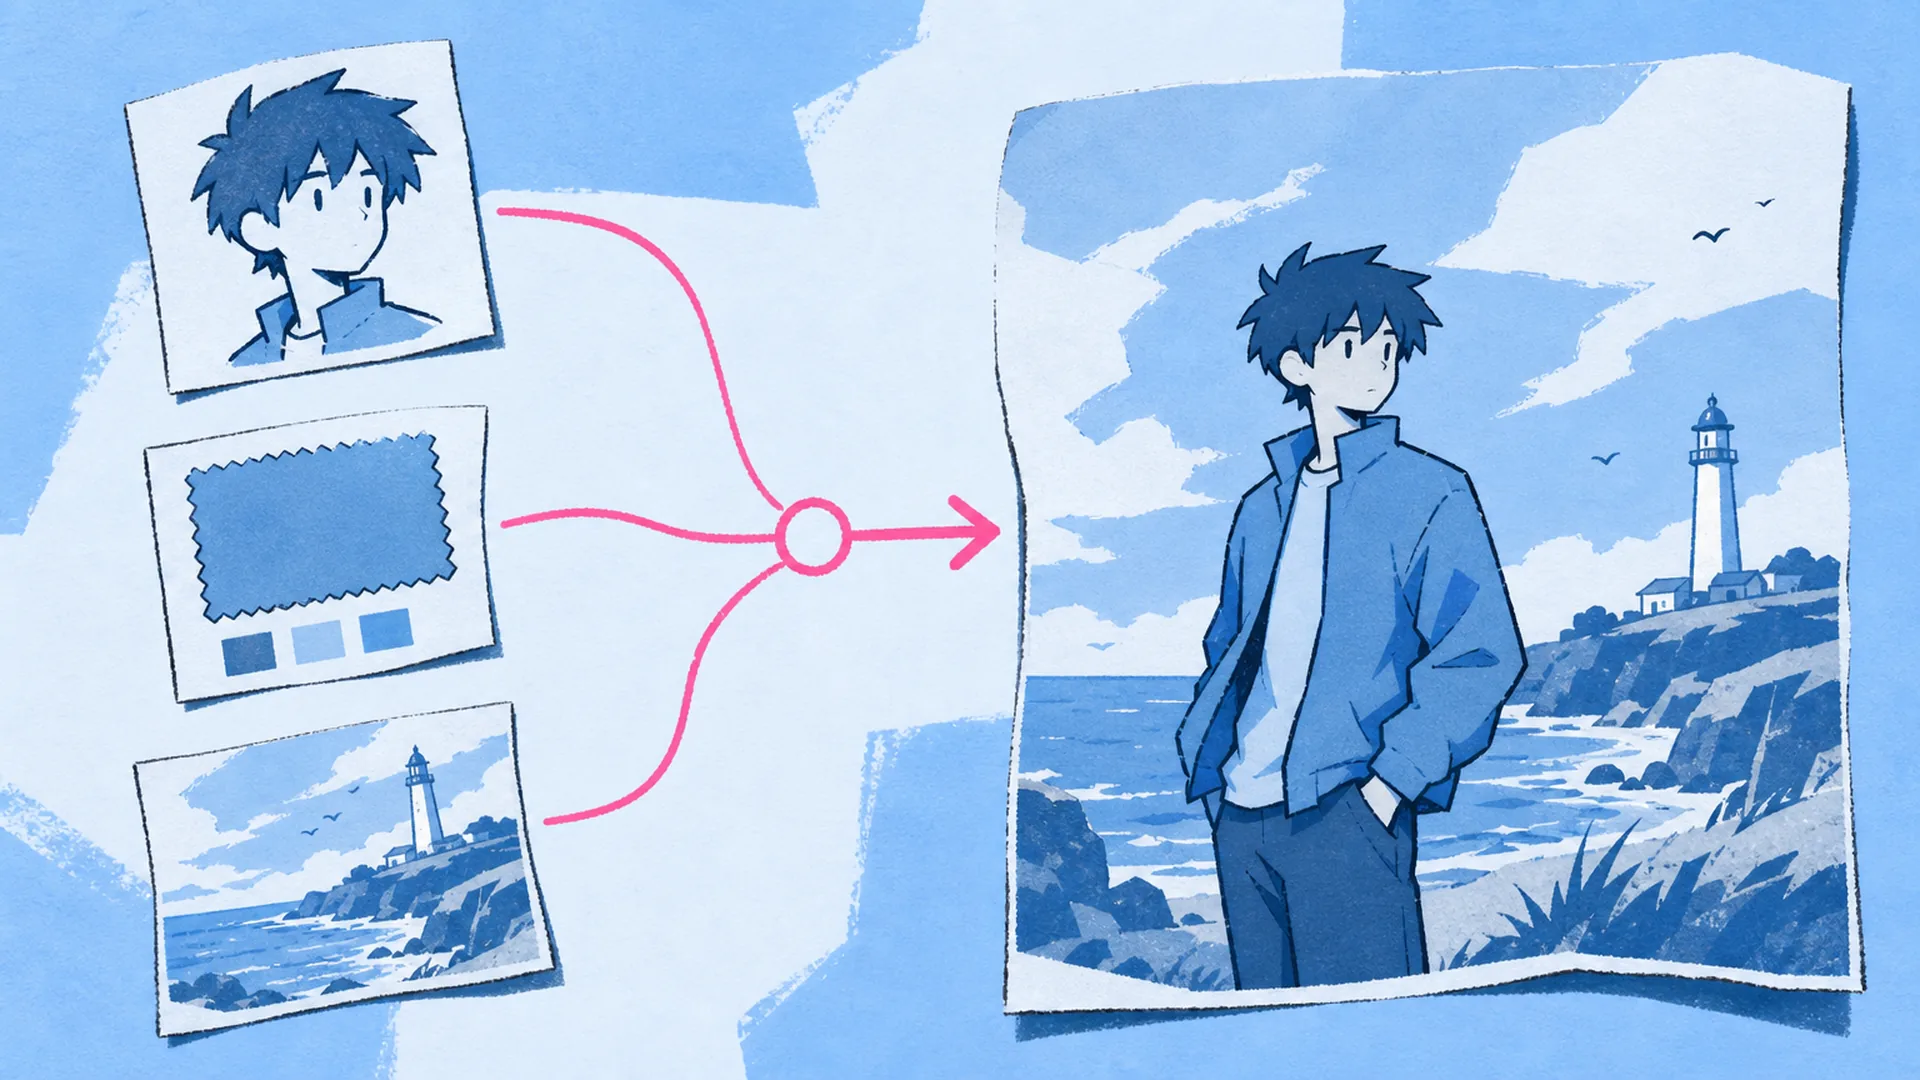
    An AI image editor is an image-to-image tool that interprets a source picture with creative instructions. Instead of selecting every pixel, describe the change with a text prompt, provide reference images for a person, product, palette, or composition, and use annotations to identify the exact area. KusArt supports broad edits and directed revisions: restyle a scene, circle an object, add an arrow, draw a frame, or place text on the canvas. The model generates a new image instead of applying a filter.

    A character card, a colour swatch card and a scenery card merging into one edited illustration

    Why Edit Images with AI?

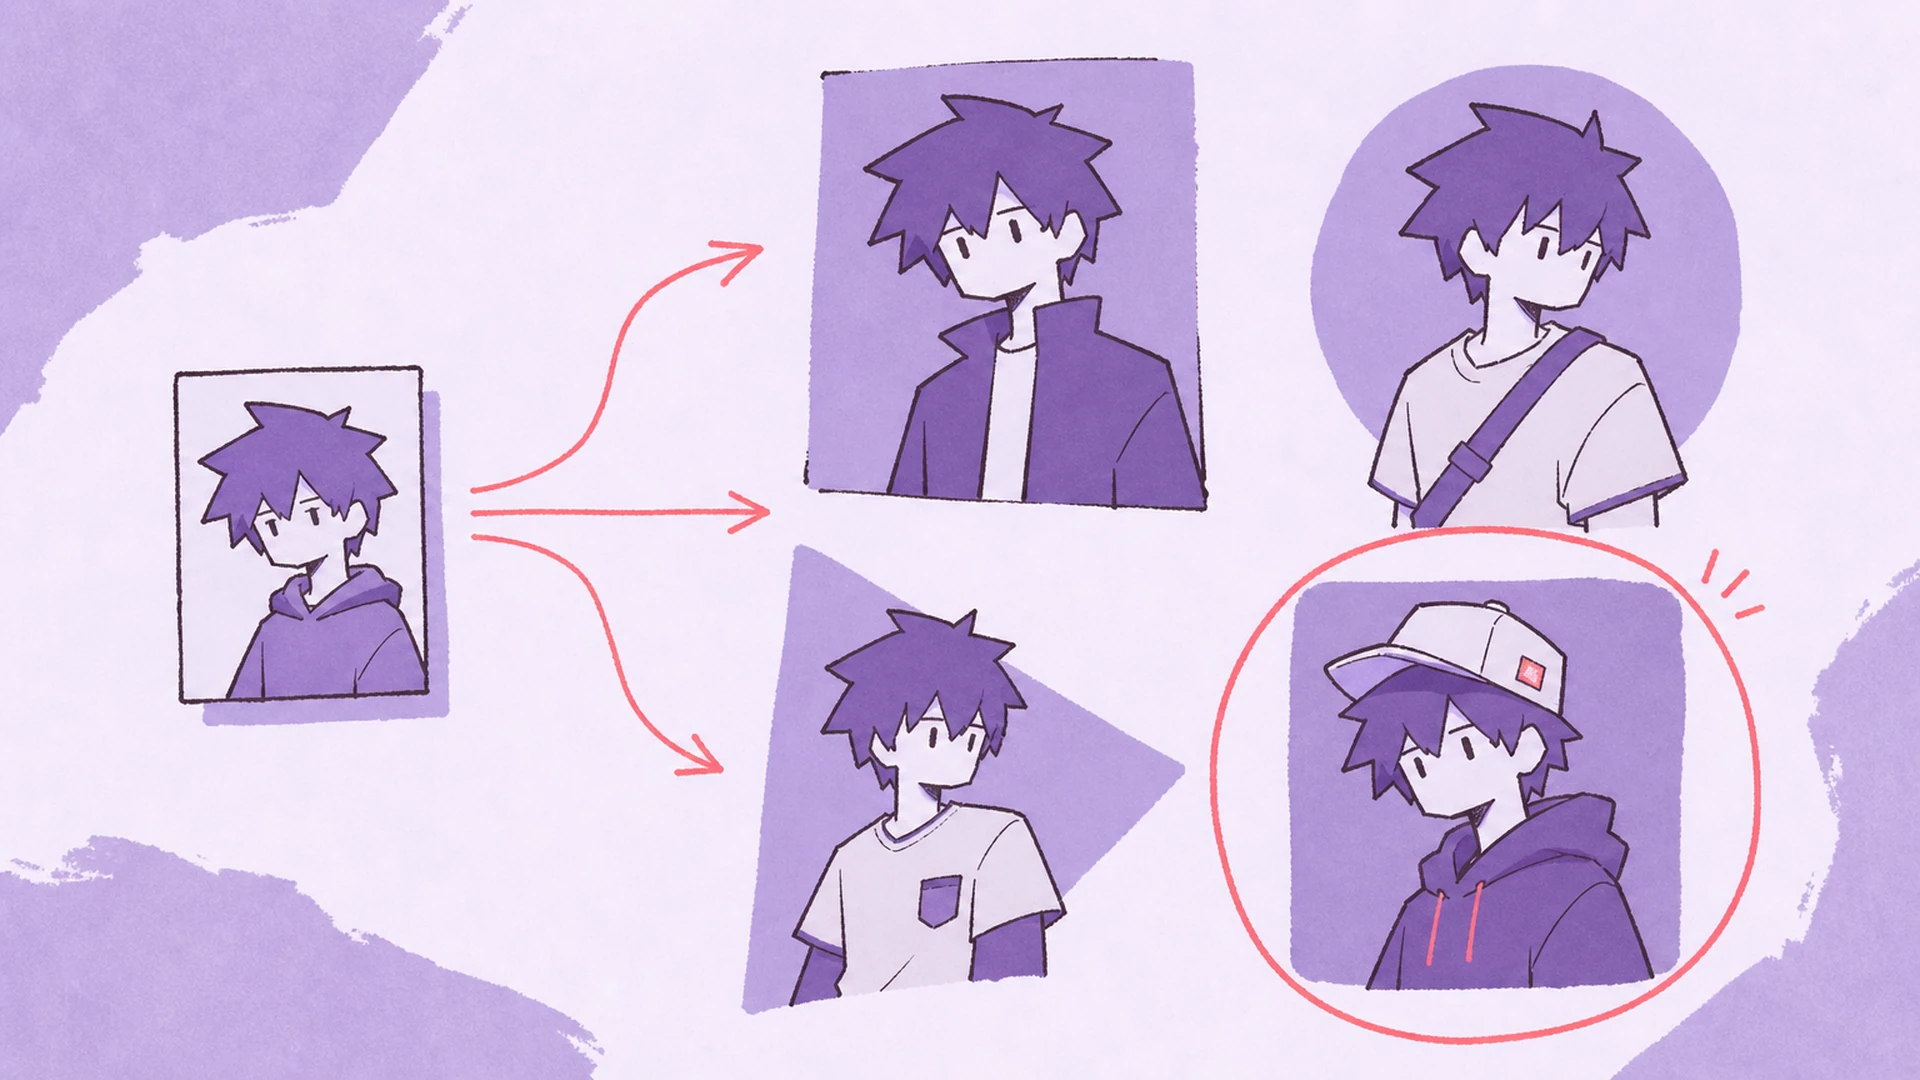
    Traditional editing excels when every edge and layer needs control, but many revisions begin with a simpler question: what should this image become? An AI photo editor starts with that intent. Test a new environment, combine references, remove an object, change clothing, or create another composition in a few instructions. KusArt keeps the source, prompt, references, annotations, model, ratio, and history together, making ideas easy to compare. For specialized changes, continue with AI Background Changer, AI Outfit Changer, or OC Editor.

    One source portrait fanning out into four edited variations with one of them selected

    A Simpler Alternative to Layer-Heavy Image Editing

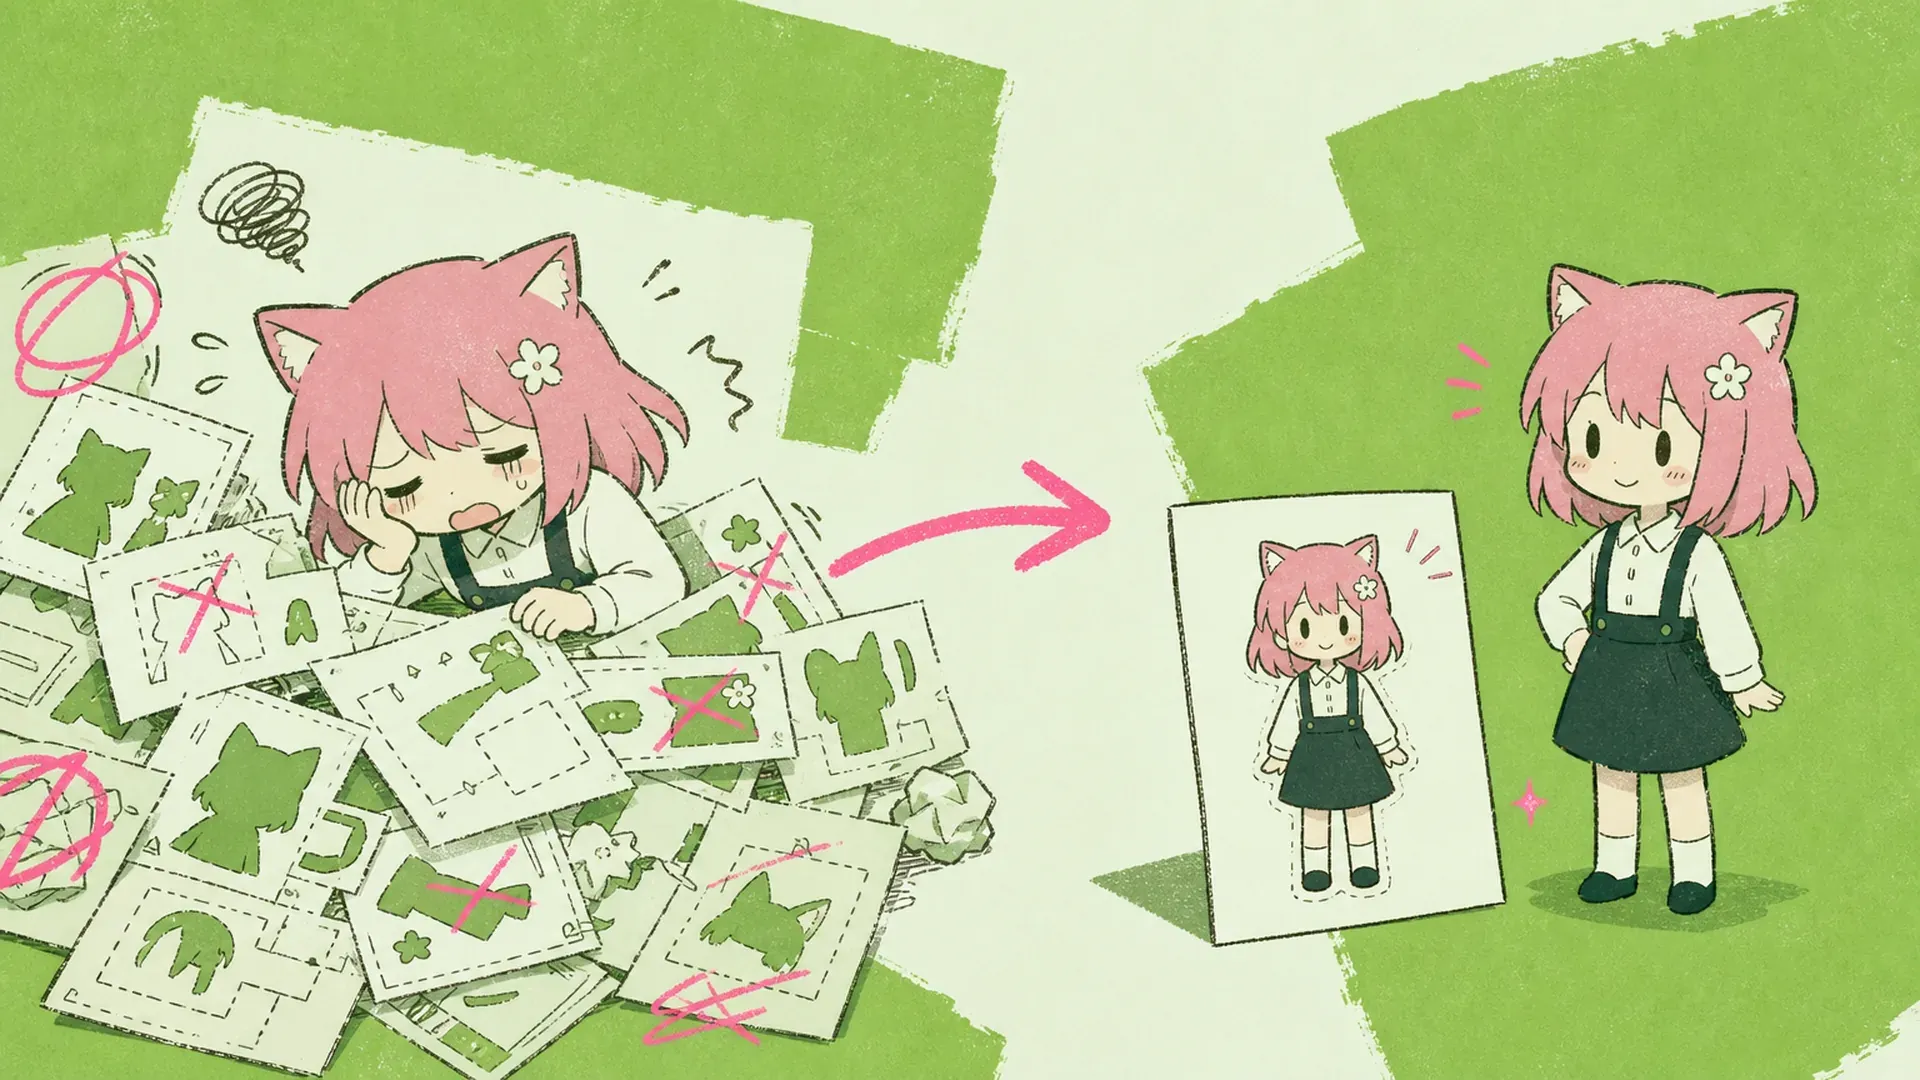
    A small change can become slow when it requires masking, cloning, relighting, edge cleanup, and repeated layer adjustments. This AI image editor reduces that setup: upload the source, add references, state what changes and what remains, then annotate when words are ambiguous. Auto keeps the original proportion by default, while model and output controls remain available. The workflow does not replace pixel-perfect retouching, but it offers a faster route to a strong visual draft.

    A cluttered pile of manual masking retries beside one clean finished edit

    AI Image Editing Features

    One focused workspace combines source-image editing, multiple visual references, on-canvas guidance, model selection, aspect-ratio control, and reusable history.

    Source and Reference Images Together

    Keep one main image as the editing target and attach multiple references inside the prompt area. They communicate identity, clothing, materials, lighting, color, style, or composition more directly than a long description.

    Visual Annotations on the Image

    Draw freehand marks, add arrows, frame an area, or place text directly on the canvas. Select existing shapes or notes to move, resize, recolor, and adjust their thickness before applying the annotation to the task.

    Models, Auto Ratio, and Edit History

    Choose an image-editing model, keep the original proportion with Auto, set the output count, and submit multiple generation tasks. Results appear in the shared history pattern so you can review, download, reuse, or edit again.

    How to Edit an Image with AI

    Move from an existing image to a directed new result in three straightforward steps.

    01
    Step

    Upload the Image to Edit

    Choose a local file or select an image from your generation history. The uploaded source becomes the main visual context and provides the default aspect ratio for Auto output.

    02
    Step

    Describe and Point Out the Change

    Write a clear prompt that separates what should change from what should stay. Add reference images, or open annotations to draw, add an arrow, frame an area, and place a note directly where the model should look.

    03
    Step

    Select a Model and Generate

    Pick the model, output count, and ratio that fit the edit, then submit the task. You can continue submitting ideas while earlier edits generate and compare every result in the history panel.

    Ways to Use the AI Image Editor

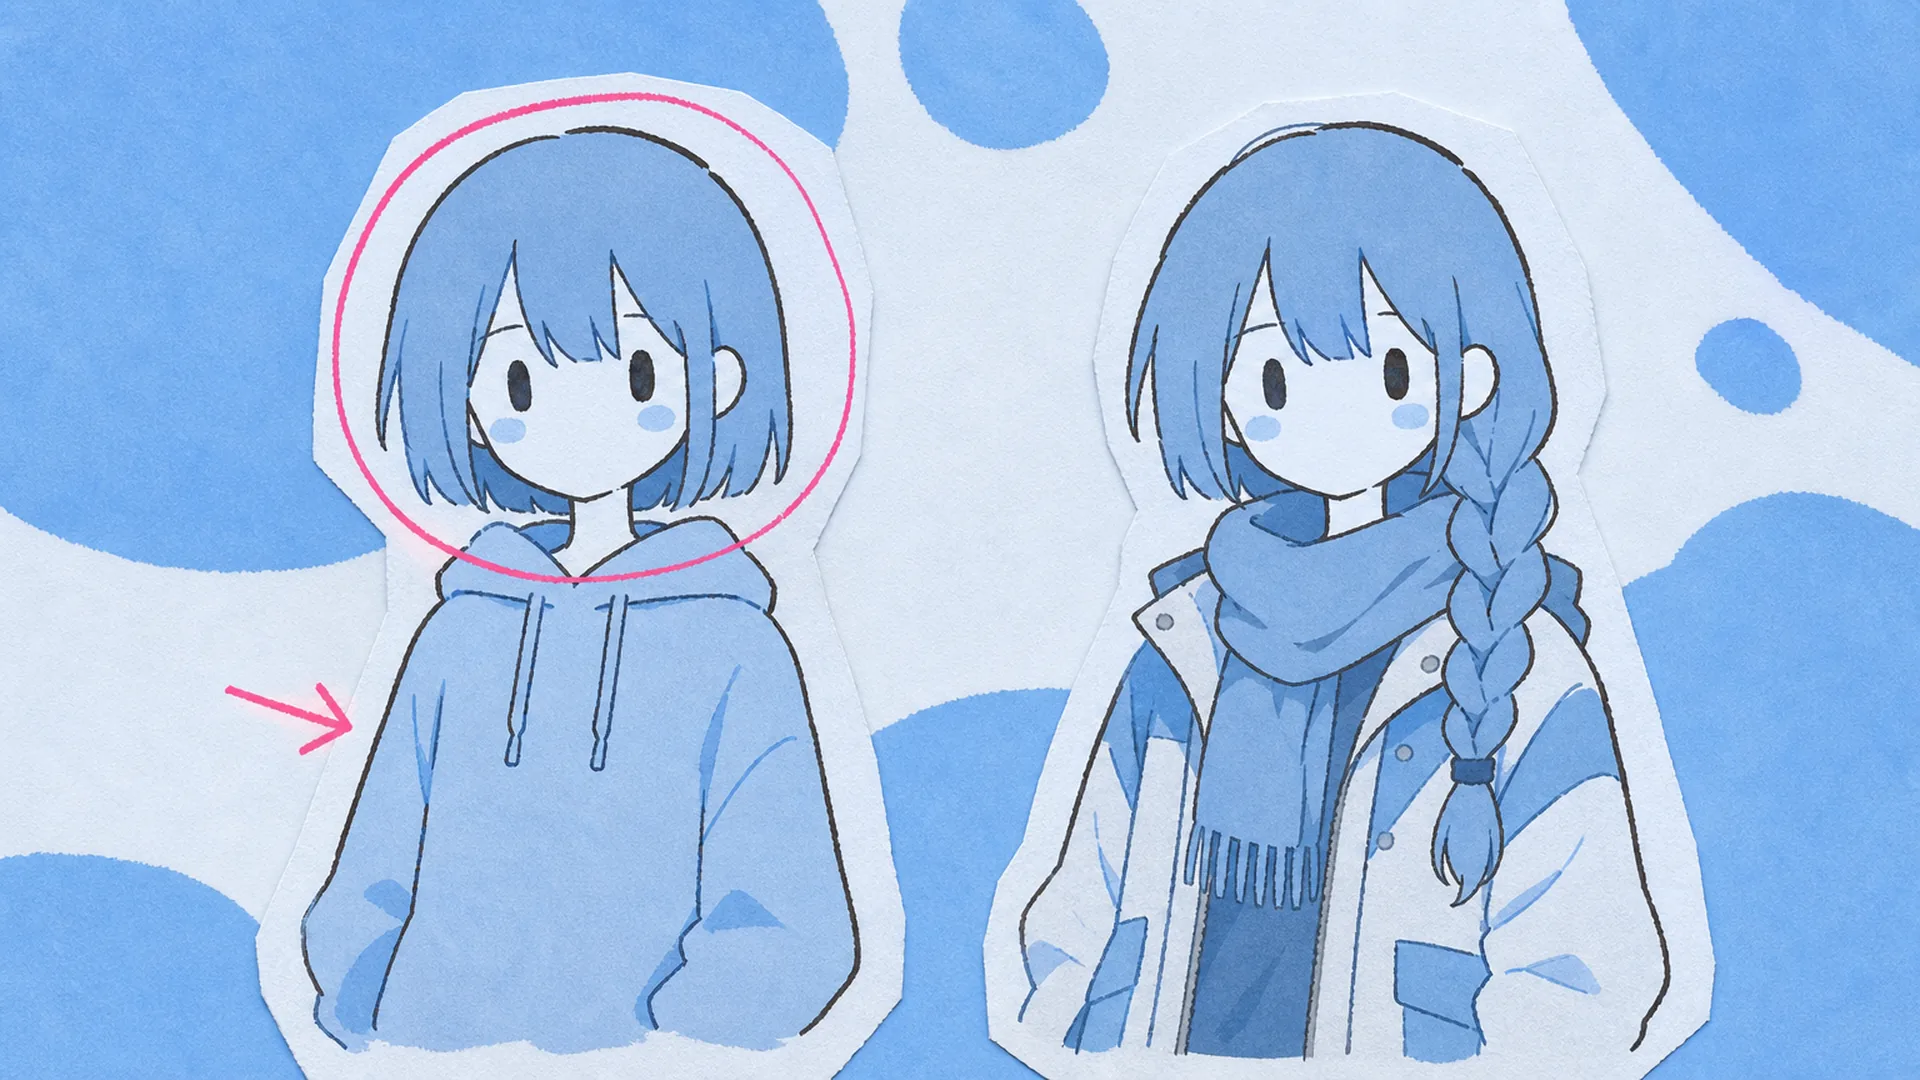
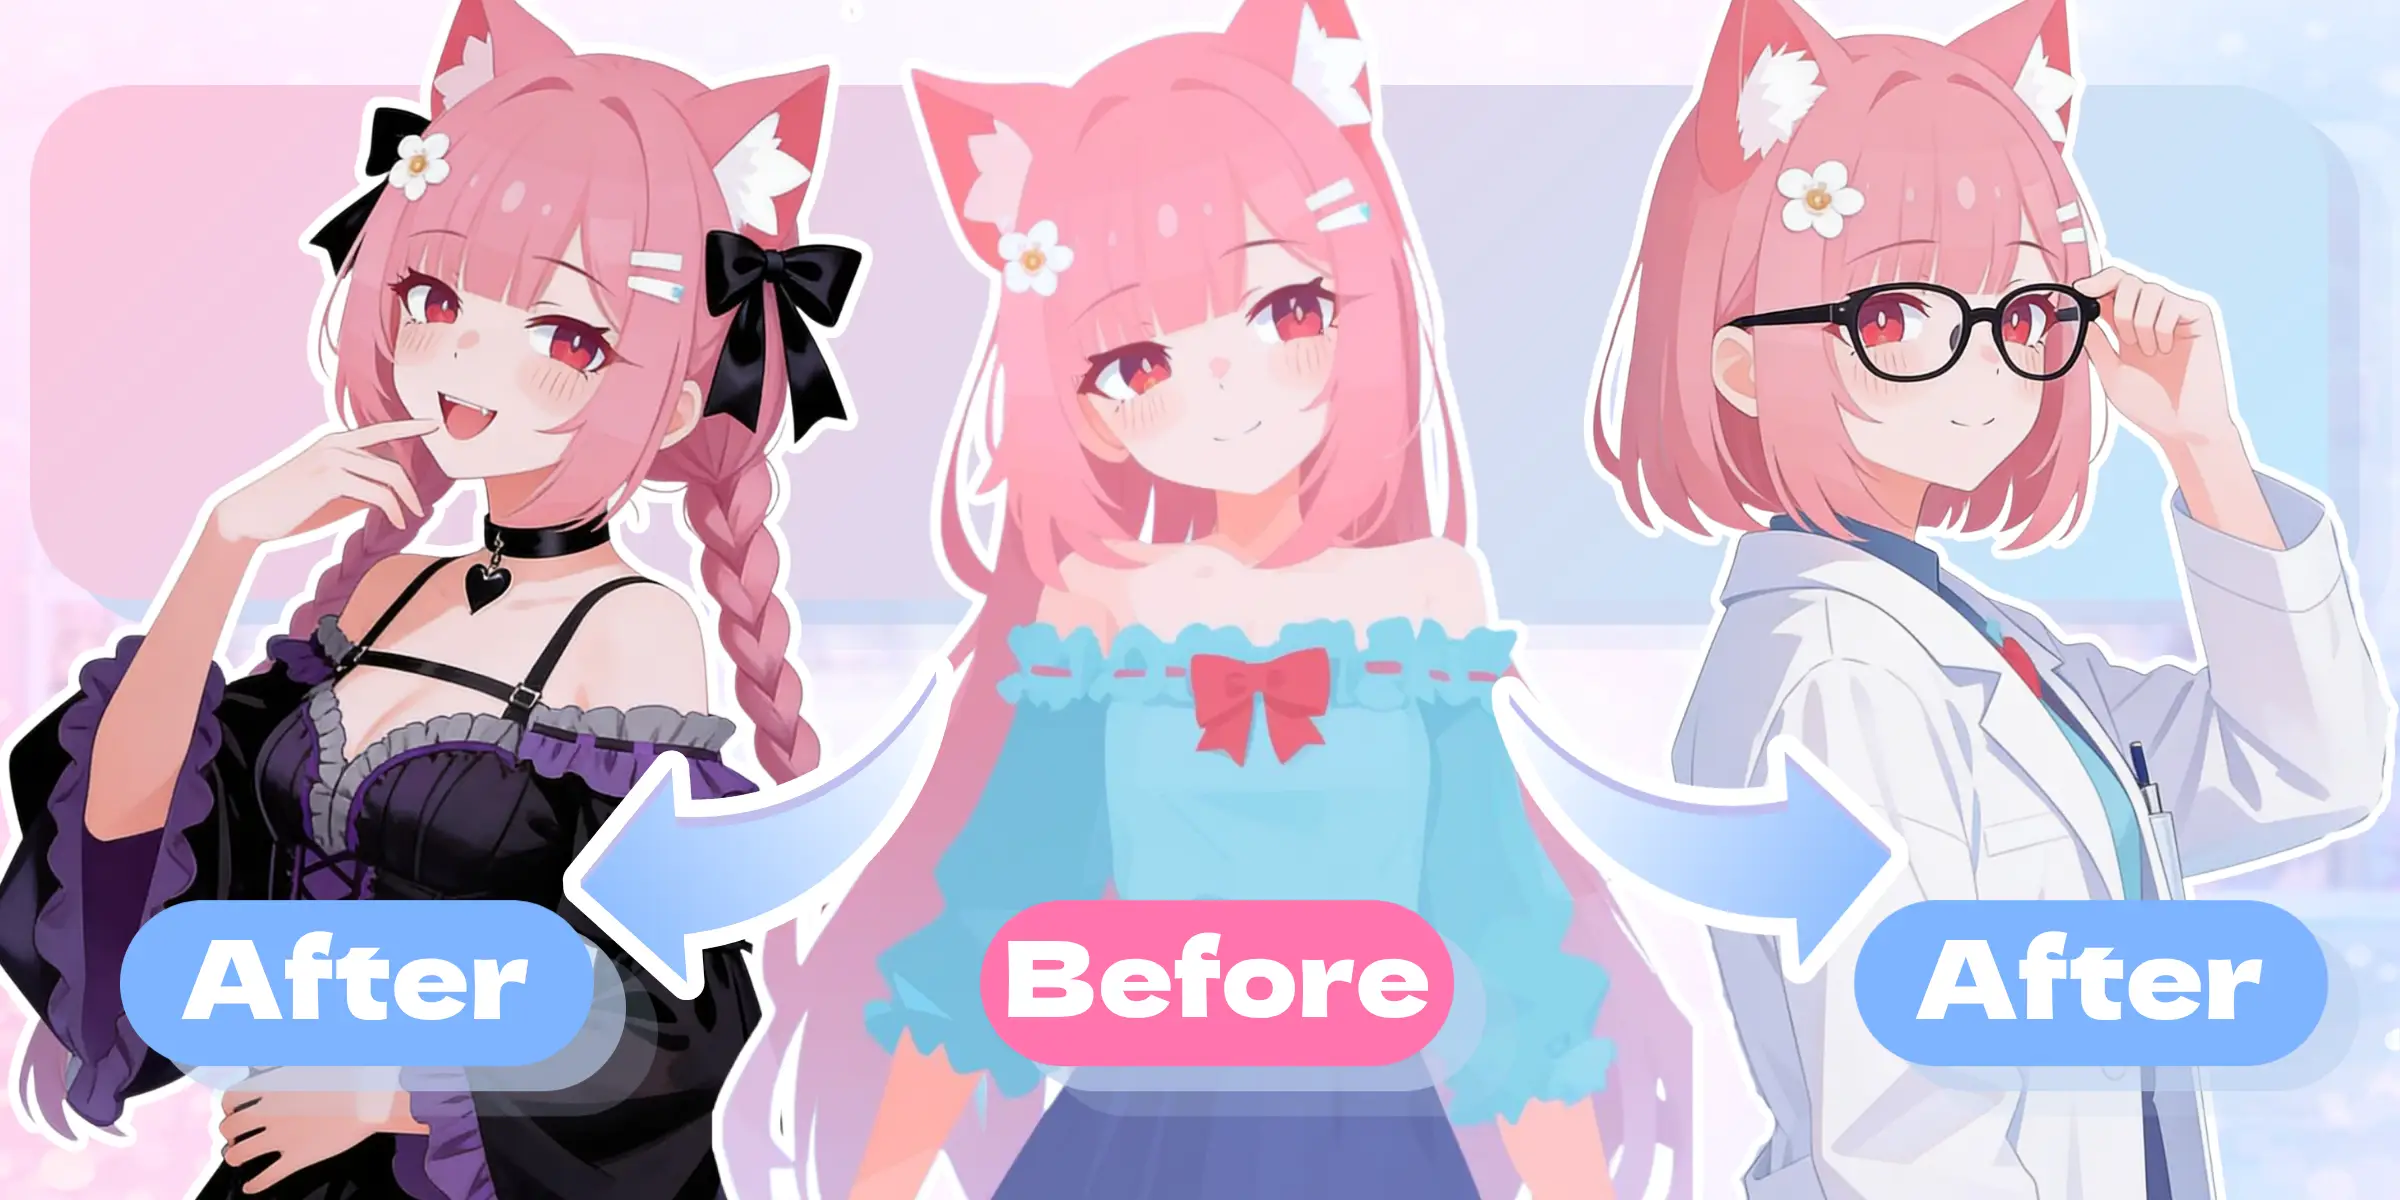
    The same anime character shown before and after a hairstyle and outfit edit

    Character and Outfit Adjustments

    Refine a character's clothing, hairstyle, expression, pose, accessories, or color details while using the original artwork as the visual anchor. For focused hair or pose changes, continue with AI Hairstyle Changer or AI Pose Changer.

    A plain sneaker illustration recoloured after picking one of three colour swatches

    Product and Object Editing

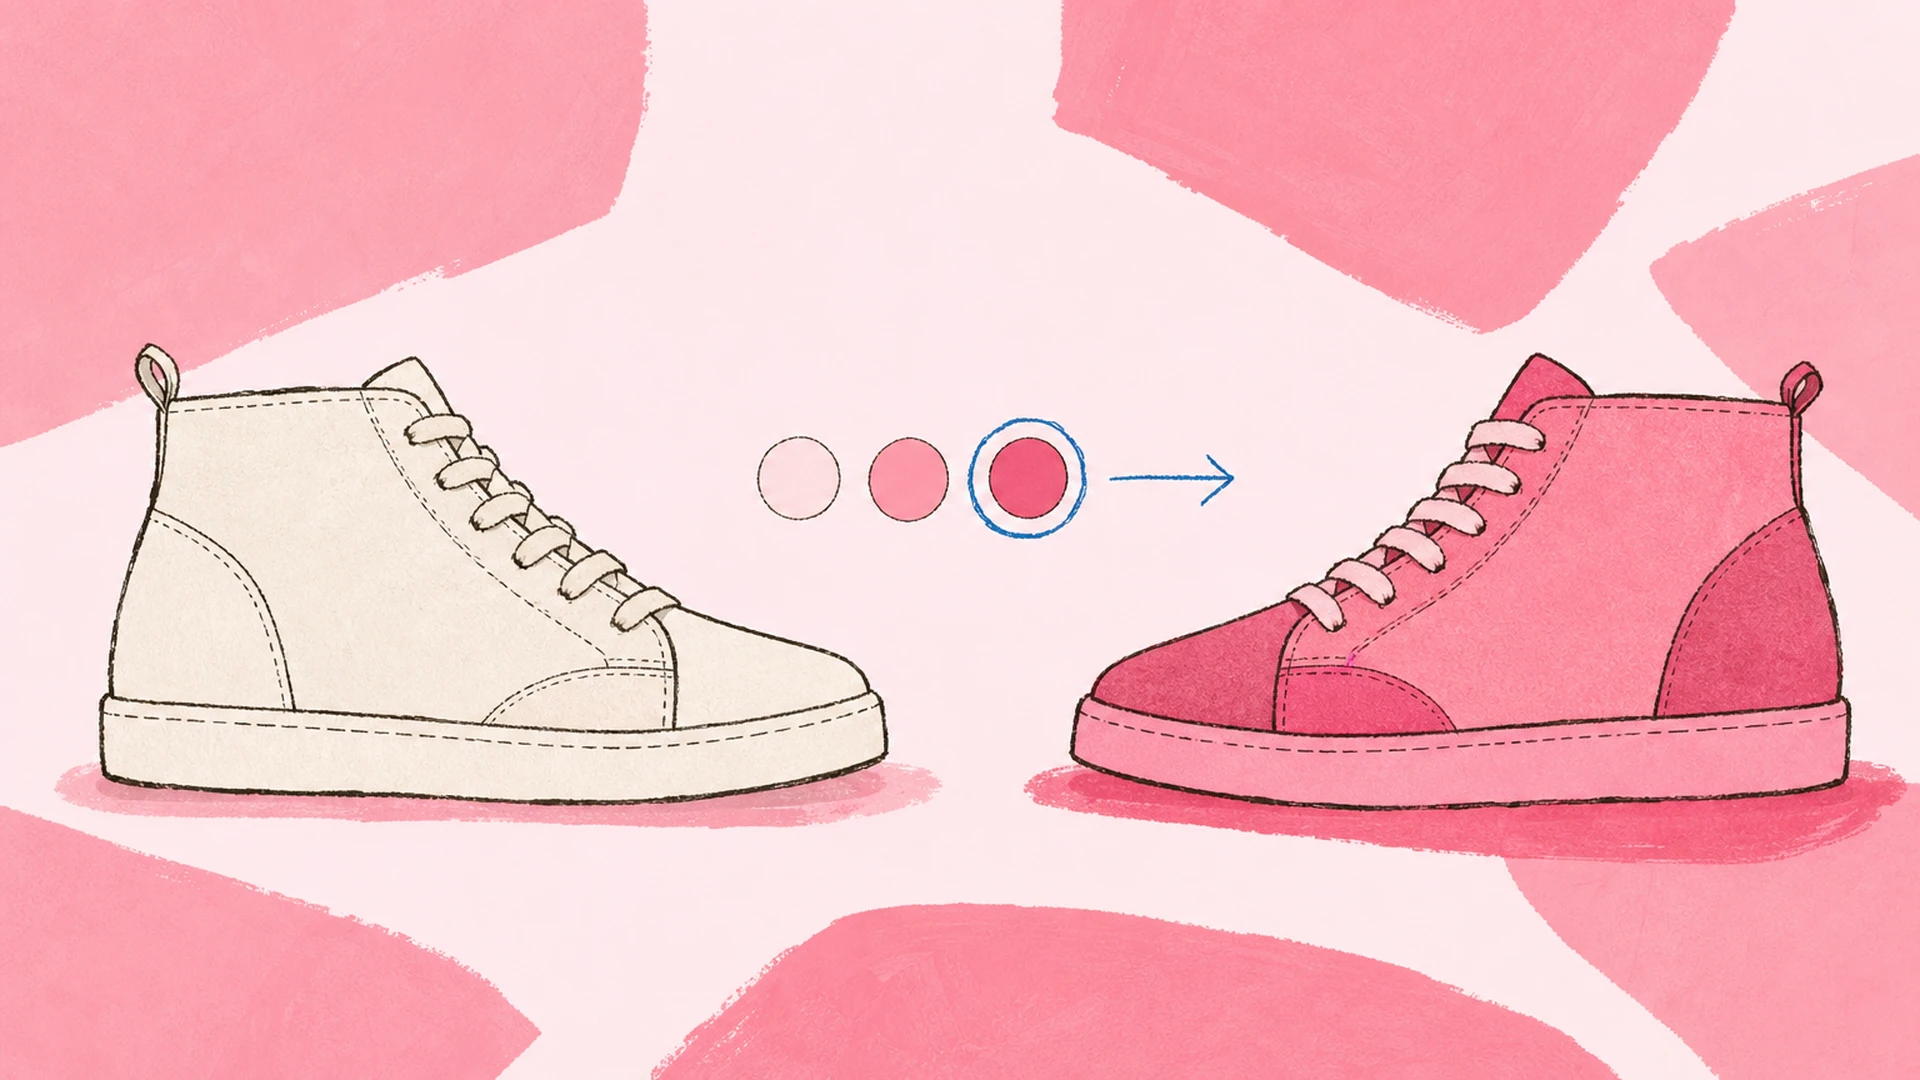
    Change materials, colors, props, lighting, or presentation around a product. Reference images can clarify the target finish or campaign direction.

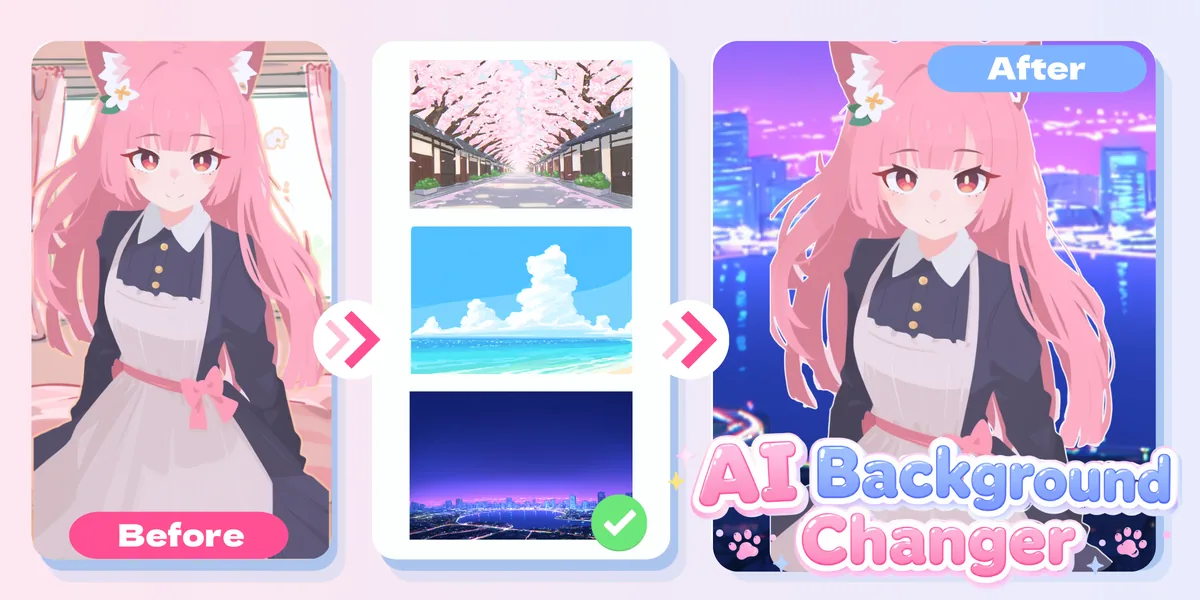
    One character left untouched while the background switches from an indoor corner to open hills

    Background Replacement and Restyling

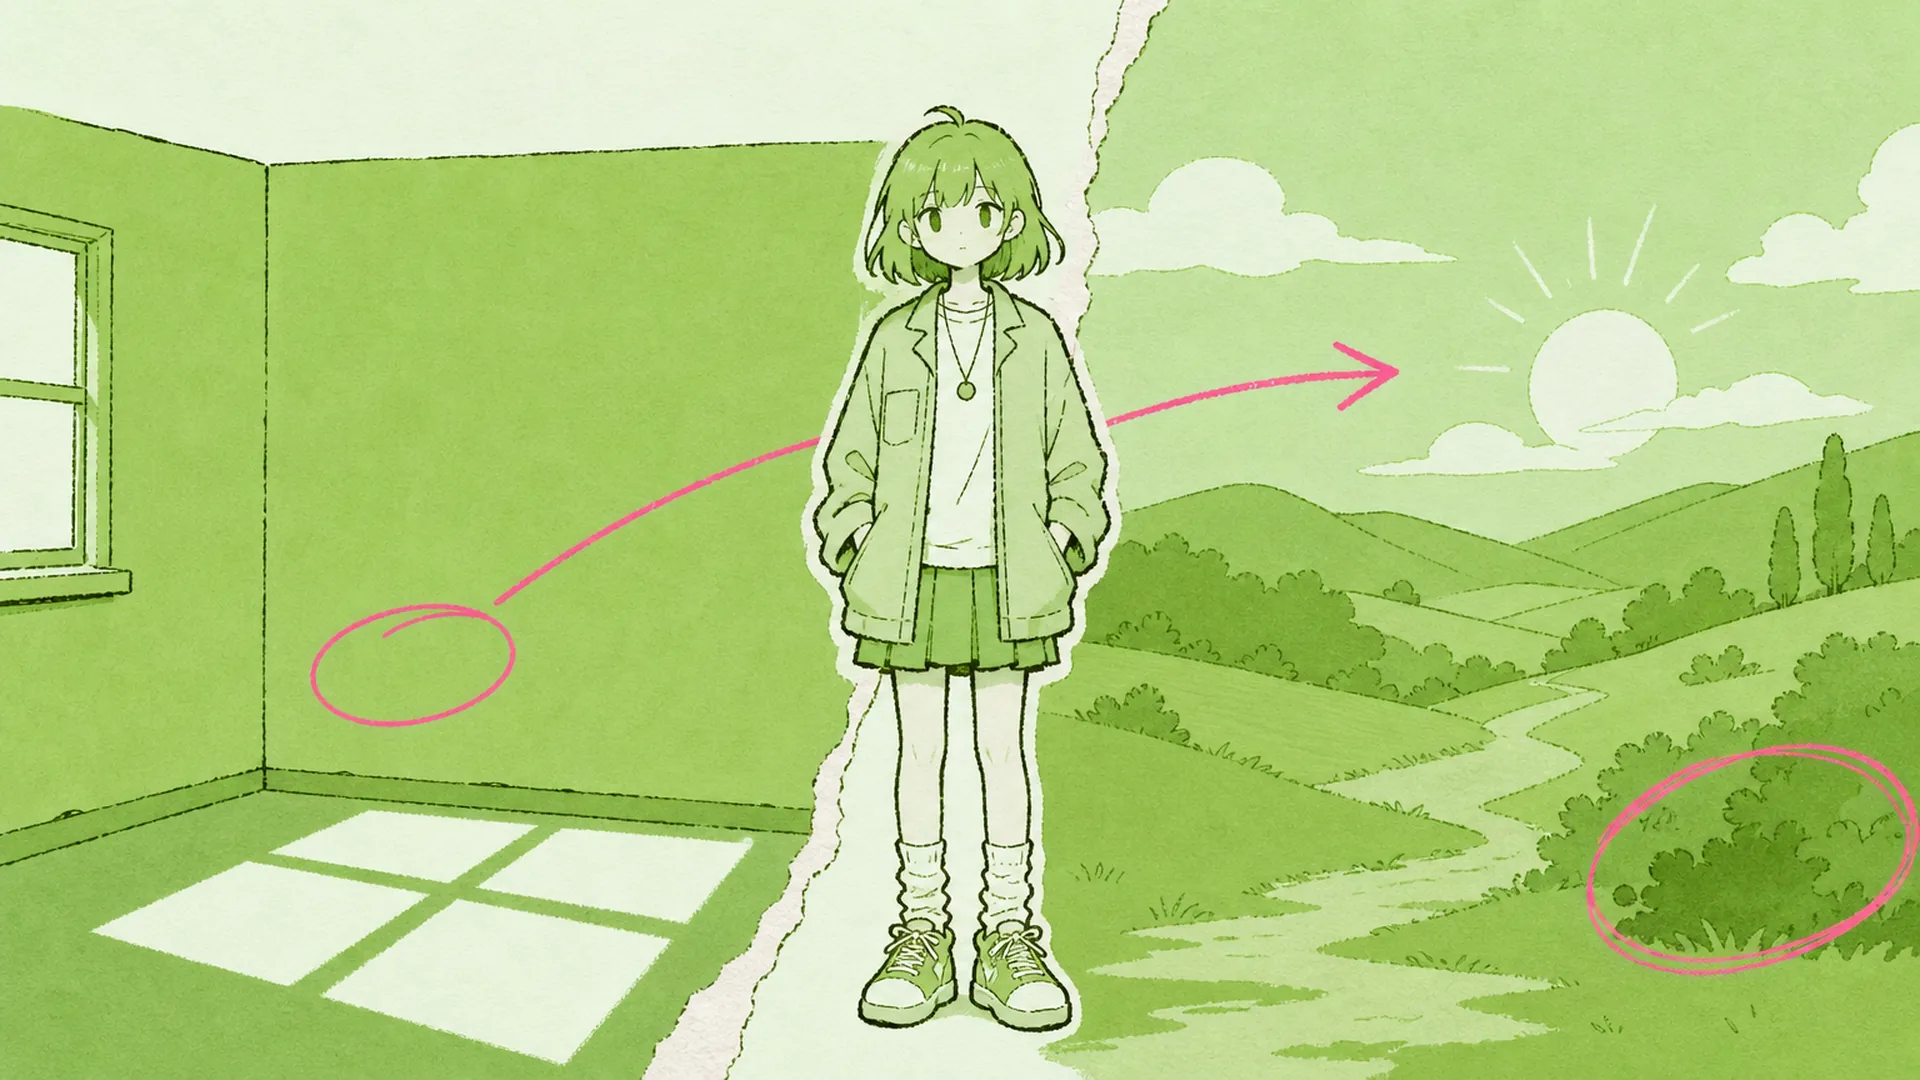
    Move a subject into a different environment, change the time of day, remove distractions, or restyle a scene while asking the model to preserve the main subject.

    Two small reference cards remixed into one bold character poster

    Creative Remixes for Social Content

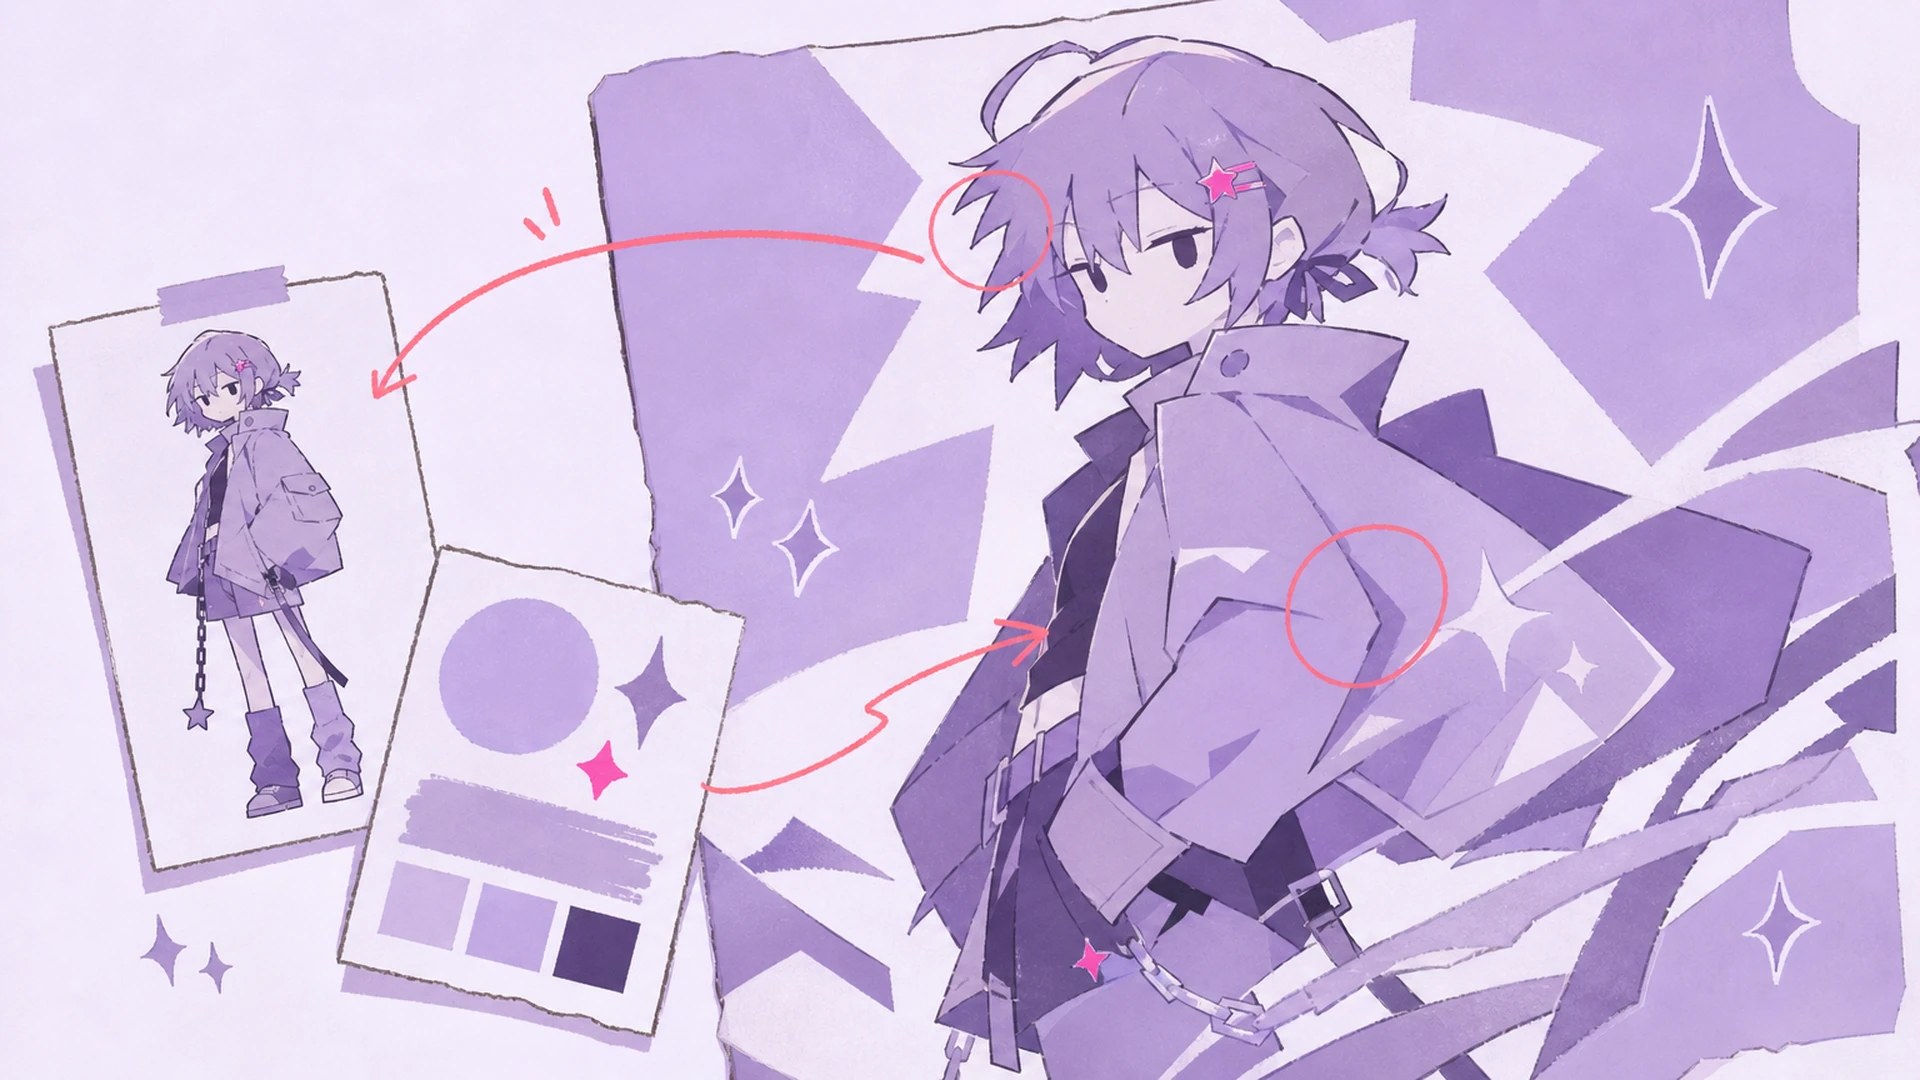
    Combine a source with several references to explore poster concepts, thumbnails, profile art, promotional images, and alternate compositions for social publishing.

    AI Image Editor FAQ

    How does the KusArt AI image editor work?+
    KusArt sends the source image, your prompt, optional reference images, annotations, model choice, ratio, and output settings as one editing task. The selected model generates a new result based on that combined context, and the result appears in your edit history.
    Can I use more than one reference image?+
    Yes. The reference area supports multiple images, so you can provide separate cues for a person, outfit, object, palette, scene, or style. A short prompt should explain what role each reference should play in the edit.
    What are visual annotations used for?+
    Annotations help when the prompt needs a location. You can draw, add an arrow, frame an area, or place text directly on the image. They are useful for pointing to the object to replace, the region to refine, or the relationship between subjects.
    Will Auto keep the original image ratio?+
    Yes. Auto is the default ratio and uses the uploaded source image proportion when the request is sent. You can also choose another supported aspect ratio when you intentionally want a different composition.
    Which model should I choose for image editing?+
    Kusa-Mix is a flexible general option, while the available GPT Image and Nano variants offer different quality, speed, and credit costs. The best choice depends on the source, number of references, and how strongly the result must follow detailed instructions.
    Can I submit another edit while one is generating?+
    Yes. Editing tasks are submitted independently, so you can create multiple generations without waiting for the previous one to finish. Each task keeps its own prompt and image context in the history panel.
    Is an AI image editor the same as an AI Image Generator?+
    They overlap, but the starting point is different. An AI Image Generator can create from a prompt, while this editor starts from a main image and is designed to preserve, replace, or transform selected visual information. Use GPT Image 2 or the generator when creation from text is the primary goal.

    Turn Your Next Image Idea into an Edit

    Upload a source image, add references or annotations when useful, and tell KusArt what should change. Your workspace keeps the editing context together so you can iterate from one idea to the next. When the edit is ready, turn it into motion with Image to Video.

    Open AI Image Editor